Filters
Filters are a key feature in any search engine. You can use Site Search 360 filters to empower your site visitors to search more precisely and to find what they need even faster than before.
Filter Types
At Site Search 360, we offer several types of filters:
Category trees
Multiple choice filters with two different types of logic:
"And" - results should match all selected values
"Or" - results should match at least one selected value
Boolean filters
Color filters with icons
Range filters, which can be displayed as sliders or buckets
With these rather simple but incredibly powerful options, you can enhance your search engine to satisfy even the most demanding user.
How to Create Custom Search Filters
To integrate filters into your search interface, you will first need to define them in your Control Panel. This can be done in a few simple steps:
Open Filters and Sorting in the Control Panel.
Create a data point if you don't have any yet. Data points will be used for defining the values for the filter.
Click on Create new filter.
Give the filter a name (which will be visible to your visitors). You can update it later.
Select the filter type (and the filter logic for multi-select filters). If you want to change the type of an existing filter, you'll have to set it up as a new filter, remove the old one, and re-index.
Choose which data point should be used for the filter.
Save and re-index your entire site once you've created all your desired filters.
To update the source later, a re-index will again be necessary.
How to Create Product Search Filters
Filters for ecommerce projects do not require data points - you can set up filters based on your product feed. If your feed contains structured data like Color: Red and Material: Cotton, these will automatically be turned into filter options when you upload your product feed.
Product Search Feature
This is available in the Site Search 360 plans with the ecommerce feature only
Simply click Add Filters and select which attributes should be turned into filters. For the example below, I chose Price, Category, Brand, and Color.
As an ecommerce customer, you will see two options when you open the Filters and Sorting section of the Control Panel, Filters (these are your product filters) and Content Filters. This means you can set up different filters for your product search results and your content search results. For instance, for the query "dress" you might have product filters like color, material, dress length, etc., while your Blog result group that contains posts like "Summer Dress Trends" and "Alternative Wedding Dresses" could have content filters like Publication Date and Theme.
Fine-tuning
All set up? Now it's time to check your filter values and put everything in its place:
Re-order your filters with a simple drag-and-drop. Filters will be displayed to your users in the same order as arranged in the Control Panel.
Check your range filter minimum and maximum values to make sure the extraction is valid. If there are some issues here - please modify the data point or product feed that serves as a source of info for the filter.
Evaluate multiple-choice filter values and remove any unwanted ones.
For product search, consider adding "Show Above" percentages to your filter options. This allows you to set a percentage that must be reached before the filter is shown. For example, if you set your color filter to 50%, then the color filter will only be shown for the query "dress" when at least 50% of the dresses in your feed have a color attribute. If only 10% of dresses have a defined color, the color filter will not be shown. If a filter is set to 0%, then it will be shown even if there is only one product that fits. To adjust this behavior, all you have to do click the pencil to edit the filter and enter your desired percentage.
How to Add Filters to the Site Search 360 JavaScript Plugin
By default, no filters will be generated and displayed to your end-users.
To enable them, you need to adjust your ss360Config by adding the filters object and setting the enabled property to true. The full filter configuration and the default values are explained in the code snippet below:
var ss360Config = {
   /* Your configuration*/,
   filters: {
      enabled: true, // whether to generate and show filter options, default: false
      position: "top", // where to place the filter view, one of the following: "top", "left"; "top" - filters will be shown above the search results, "left" - filters will be shown to the left of search results + "show filter" button will be added for mobile devices
      label: "Filter", // the label of the filter column, will be also used as screen reader text
      showCounts: true, // whether to show result counts for multiple choice filters
      showQuickDelete: true, // whether to show a "Quick Delete" bar summarizing active filter options and providing a "delete all" option
      deleteAllLabel: "Clear All", // the label of the "delete all" option
      settings: {} // range filter settings, e.g. {Price: {unit: '$', step: 1, drawHistogram: false}}
   }
}
Adjusting Range Filters
Range filters are generally based on a numeric value, and thus non-numeric information such as the price unit might get lost during the extraction process.
For this reason, you might want to provide the relevant unit ($, €, etc.), define the step size, or maybe hide the histogram. A histogram is generated by default and gives your users a quick overview of how many results are available in a specific range.
In order to adjust these parameters, you'd need to add an settings object to your filters configuration. Your range filter can either be referenced by the filter name (the one that's shown in the user interface) or by the generated filter id:
var ss360Config = {
   /* Your configuration */,
   filters: {
      enabled: true,
      settings: {
         Price: { // referenced by view name
            unit: '$', // show $ as the filter unit
            step: 1, // the step size
            drawHistogram: false // don't show the price histogram
         },
         'fid#2': { // referenced by filter key
            step: 10
         }
      }
   }
}
Demo
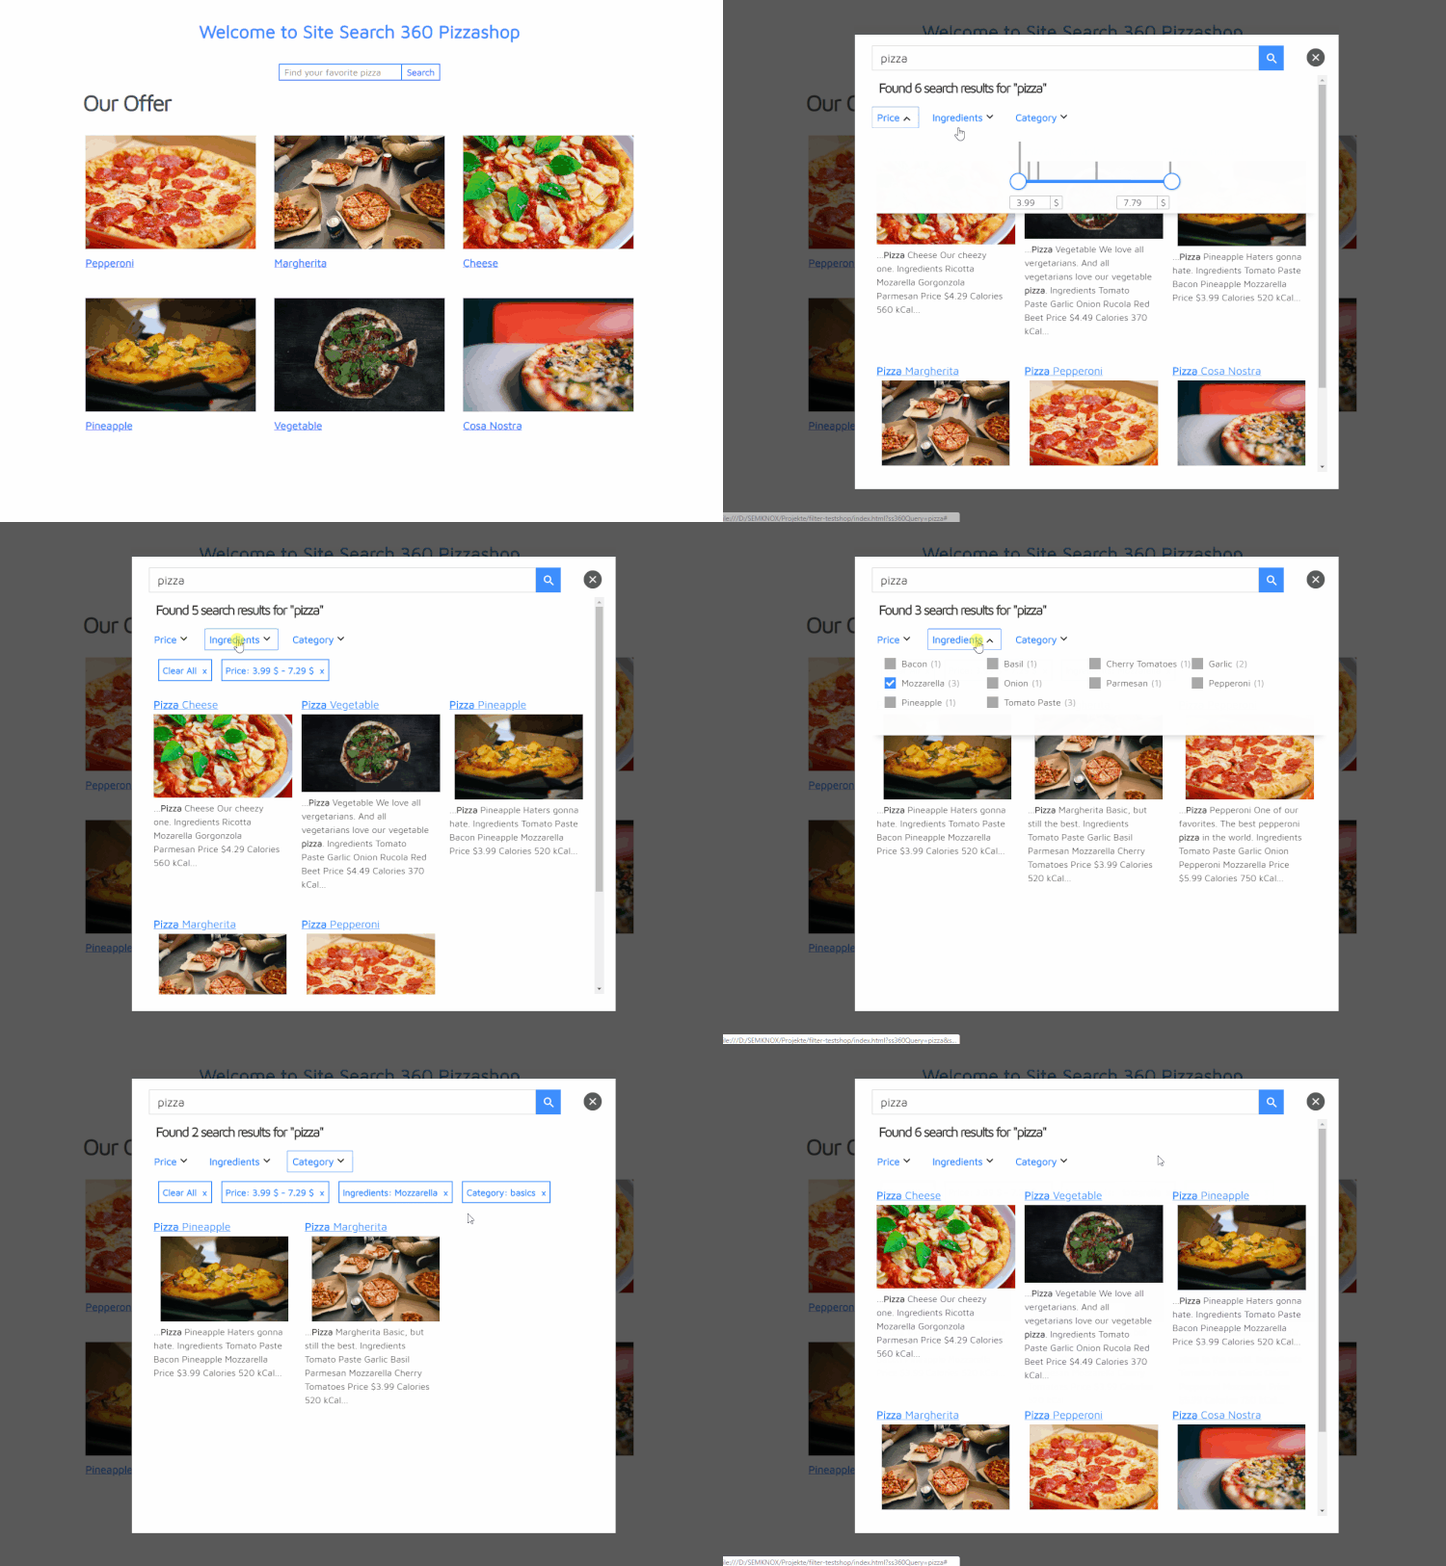
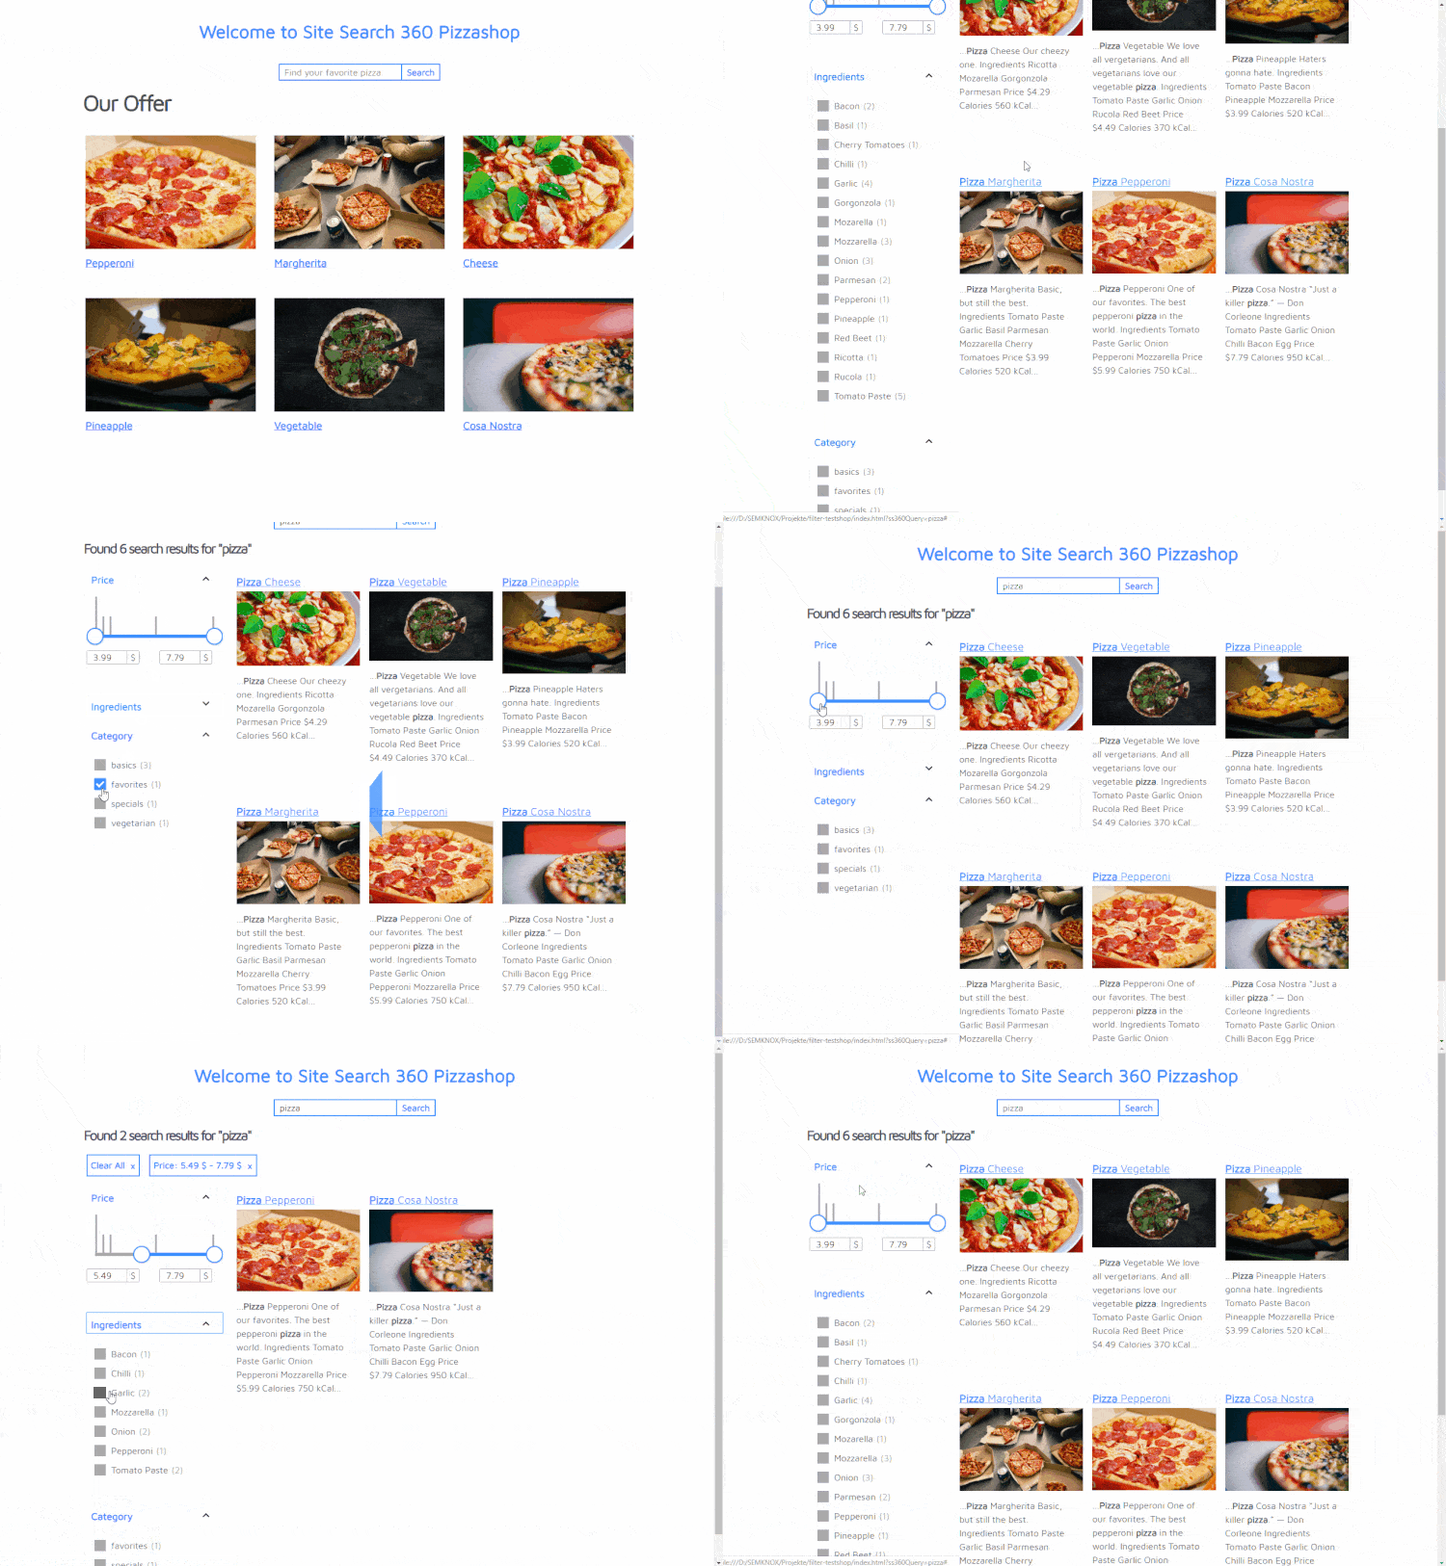
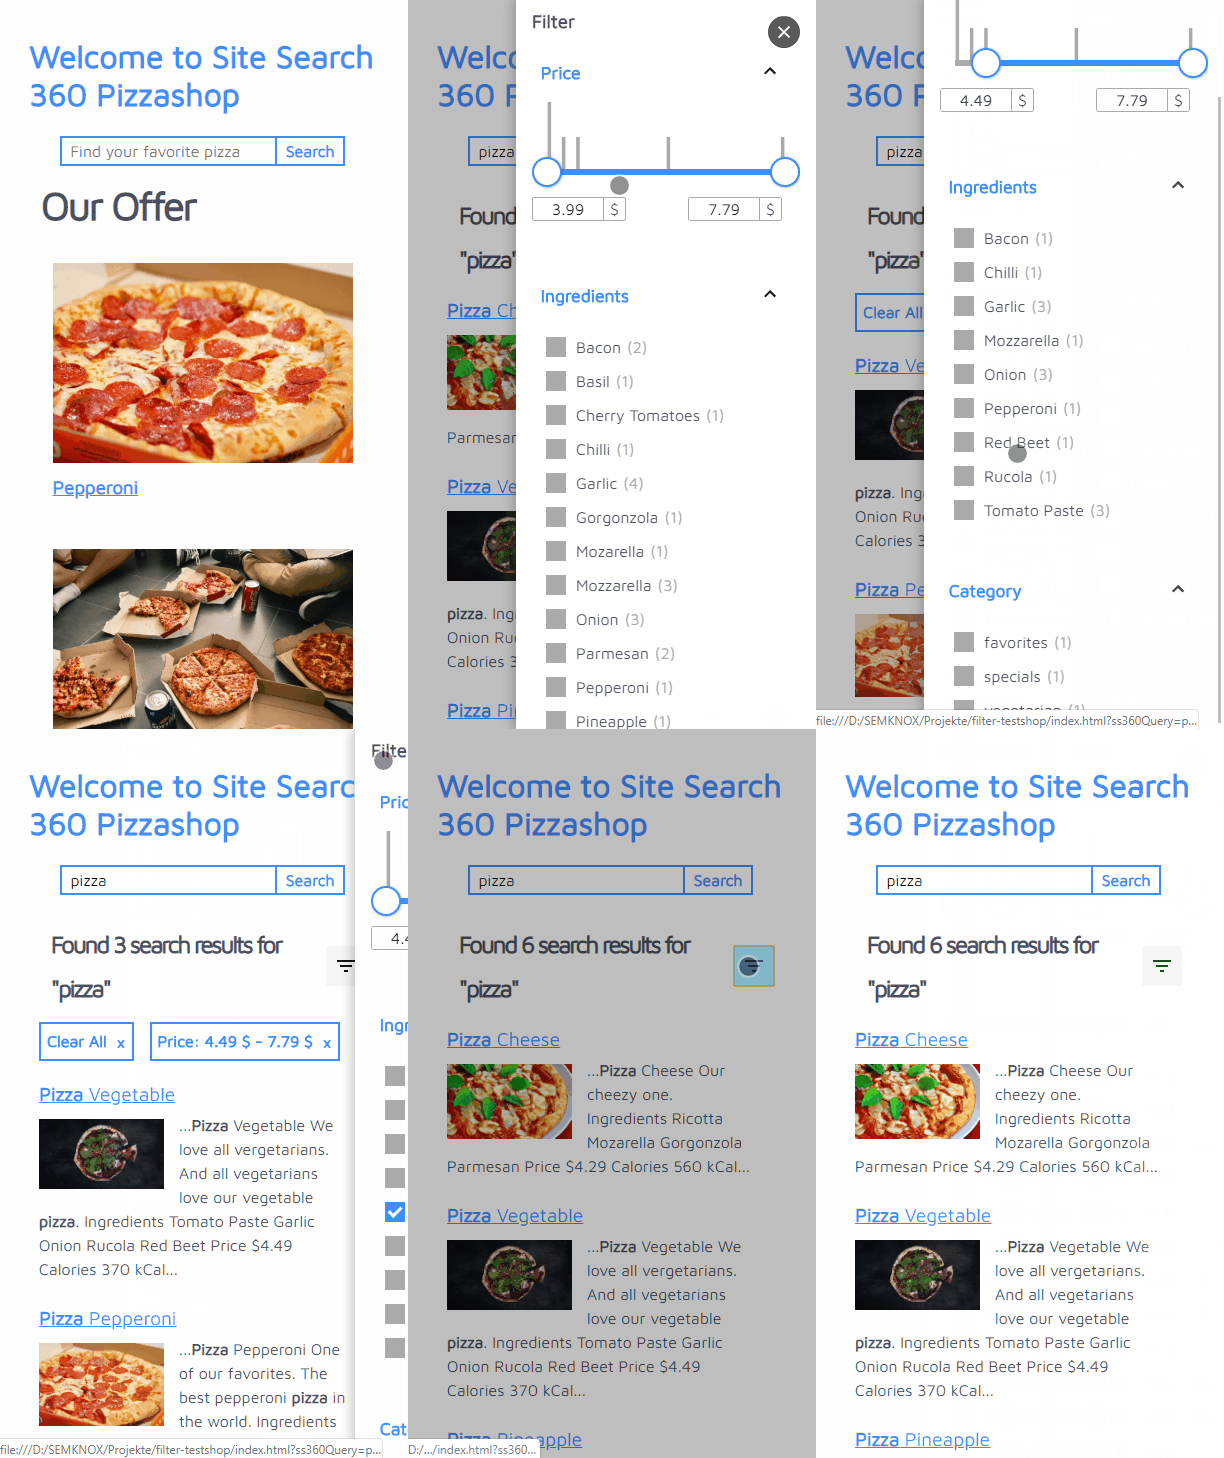
Curious to see Site Search 360 filters in action? Check out our docs example with some code snippets, or just watch the three videos below:


